Hello Friends! This post will provide you with a list of the best six microgreens that may be grown in your kitchen garden as well as instructions on how to cultivate them. Consuming microgreens is not only beneficial to one’s health but also quite tasty.
They contain about 5 times the number of minerals and vitamins as fully-grown plants do. I know! Although they are highly expensive, it won’t take you long to cultivate your own microgreens supply in the kitchen garden.
Growing microgreens is a fairly simple process that takes very little time and effort. Microgreens have a life span of approximately 10 to 14 days on average.

Because you don’t want any more genetically modified organisms (GMOs) in your stomach, you should always use non-GMO organic seeds that have a greater germination rate.
Any container that is at your disposal can be used to cultivate microgreens. For a sufficient supply, however, I suggest you make use of a container of 10 or 20 inches.
Coconut coir is the ideal medium for the growth of microgreens and other little plants. Because it does not attract or harbor pests and has a high capacity for water retention, both of which are advantageous to plant growth.
The following is a list of the top six microgreens that you should grow in your kitchen garden.
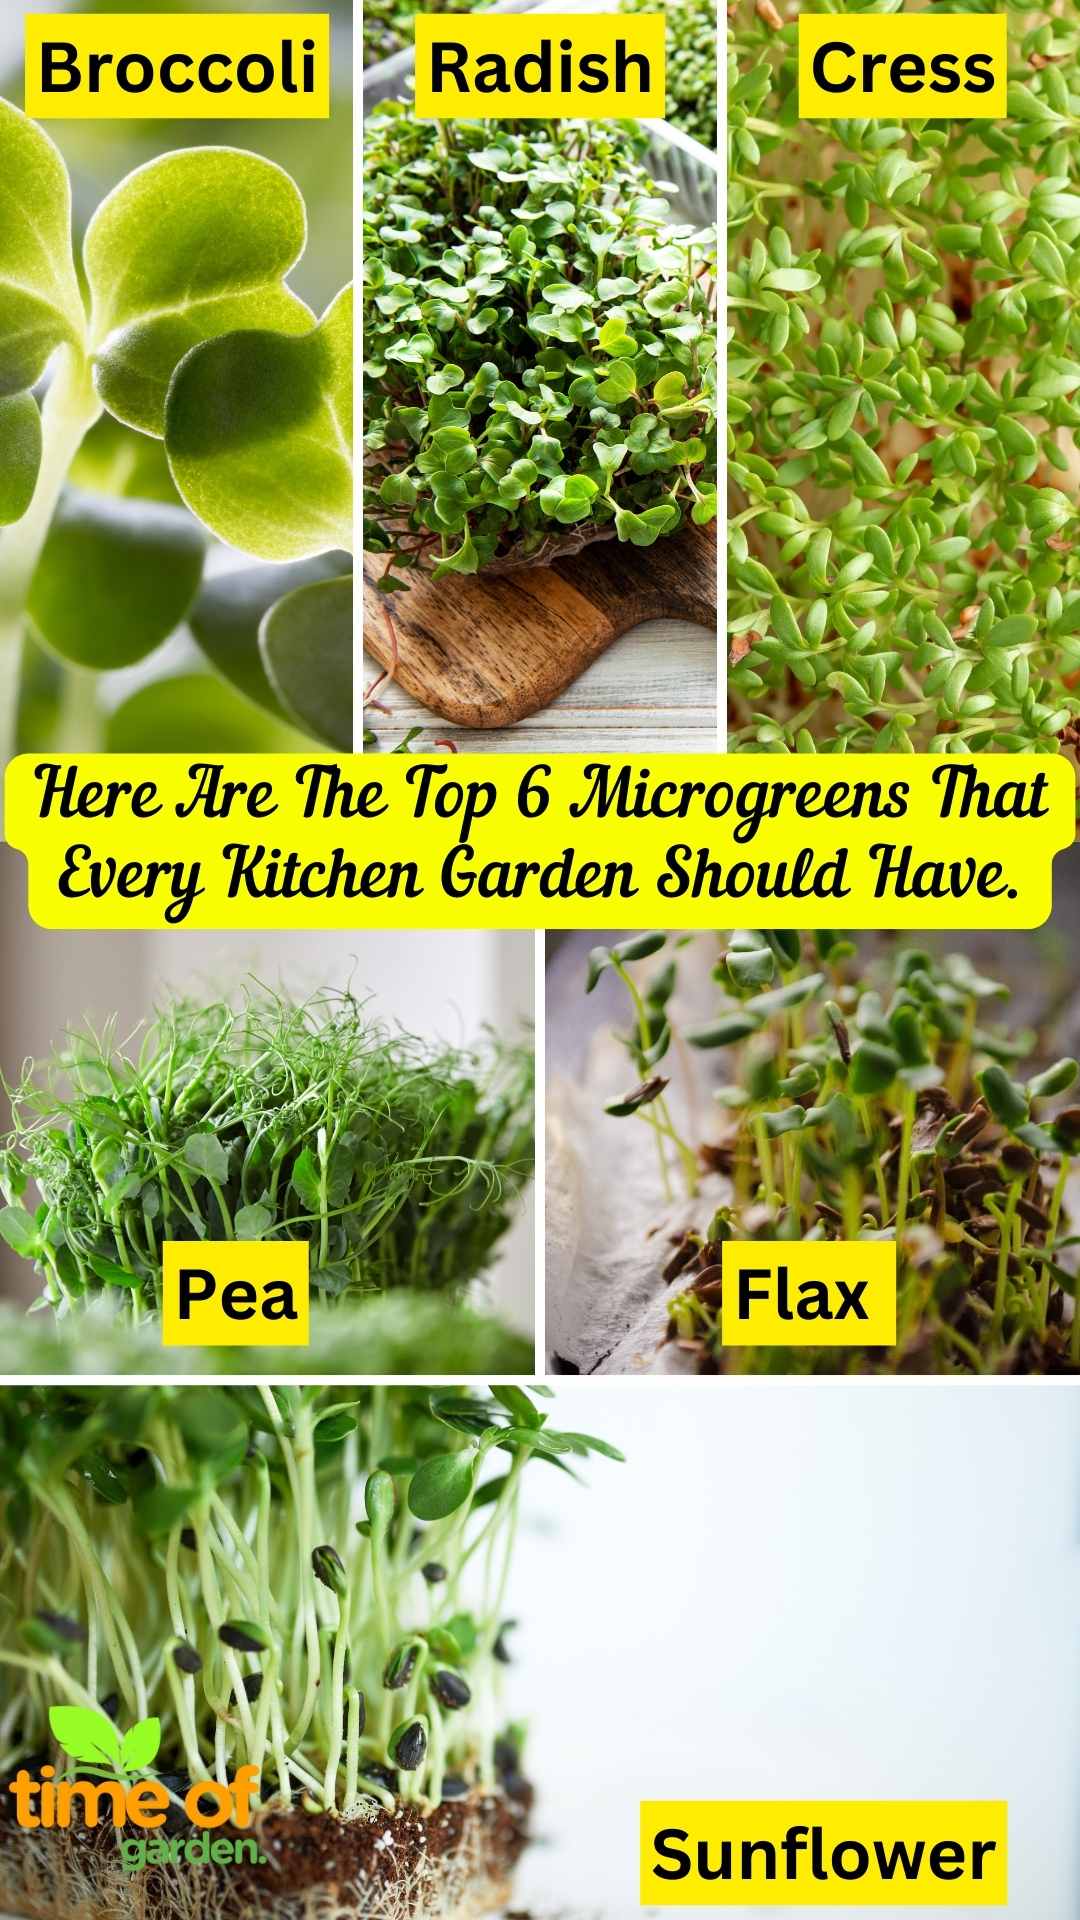
- Broccoli
Microgreens of broccoli come in at number four. Growing broccoli microgreens is quite similar to growing radish microgreens; the only real difference is in the details.
There is no need to soak the seeds in advance. The seeds should be dispersed across the growth medium. Instead of covering the seeds with dirt or coconut coir, you should water them and put some weight on them.
Without anything to press down on them, broccoli microgreens will not grow to their full potential. After a period of three days, shoots will emerge. The time has come to start losing weight and water consistently.
In just two more days, they will reach a height of one inch and transition from yellow to green. After four days, they will have grown to a height of three inches and be ready to be harvested. Reduce the top two inches by cutting it. Microgreens of broccoli are a delicious addition to any dish or soup.
- Radish
Reddish Microgreens come in at number three. They are the type of microgreens that grow the quickest out of all of the options. Their seeds are significantly more diminutive in size. Therefore, utilize them in a limited quantity because it is possible for them to get overly saturated, which is not desirable.
There is no need to pre-soak this particular variety. Simply disperse some seeds across the surface of your growing medium. Place some dirt or coconut coir on top of them, and then use a spray bottle to give them water.
After a period of 2 days, the seeds will begin to germinate. After another 2 days, their height will be 2 inches. In about another day and a half, they will be ready to harvest. Remove the uppermost two inches of the microgreens.
Radish microgreens are quite pungent and taste exactly like fully-grown radishes in both texture and flavor. You can add them to your soup, salad, or sandwiches to enjoy them.
- Cress Microgreens
Cress Microgreens come in at number five. These seeds need to be presoaked in a jar of water before you can use them. After a period of 24 hours, the seeds will generate a medium that is similar to gel.
Carefully spread the medium that looks like a gel and contains the seeds on the growing medium. Spread everything out evenly and don’t leave anything out. They need to be watered, but nothing else should be put on the seeds. There is no soil and no weight.
After a period of two days, they will begin to germinate. After two more days, they will become green and grow to be one inch tall. In the beginning, they will be yellow. Just another four days, and it will be harvestable at a height of three inches.
- Pea
Microgreens made from pea shoots come in at number two. Pea shoot microgreens are currently the second most common type of microgreens that can be purchased. Their seeds are also considerably larger compared to those of other plants.
They are fairly simple to cultivate. If you are unfamiliar with micro greens, I recommend that you begin with this kind. The complete instructions for cultivating pea shoot microgreens are provided below.
Put some seeds in a jar, then fill it with water. Soak them for a full period of 24 hours. Now place them on a coir made from coconut husks (growing medium). Either place a weight on it or cover it with some coconut coir to keep it in place.
They require daily misting with water from a spray bottle. Microgreens will reach a height of between 5 and 6 inches after only 10 days. They are ready to be harvested when they have reached that height.
Use a knife or scissors to cut the microgreens into pieces that are approximately 4 inches long.
Keep Reading
- Top 6 Microgreens You Must Grow In Your Kitchen Garden
- How To Grow Microgreen Indoors?
- Growing Microgreens Indoors Without Soil
- Flax Microgreens
Sixth place goes to flax microgreens. Sprinkle some water in your growth medium using a spray bottle. Sprinkle seeds all over it. After two days, give the seeds some water and put them in a cool, dark spot. After two days, put it in a brightly lit location outside.
On day 5, they will have reached a height of one inch. On day six, they are ready to be harvested, but you have the option to wait an additional day or two.
- Sunflower
Microgreens from the Sun Flower are ranked first. Microgreens derived from sunflowers are by far the most common type. The seeds are quite a bit bigger compared to other types of seeds. First, place the seeds in a glass of water and let them sit there for a whole day.
After a period of 24 hours, the seeds will have an excellent level of hydration. Distribute these seeds across your medium for growth (coconut coir). Put some strain on seeds (a piece of wood).
It is important to avoid getting dirt or other growing medium on the seeds. It is important to hydrate the seeds before putting any pressure on the soil. After two days, take the weight off the container and examine the germination.
Spray these germinated seeds with water each and every day using a bottle. Sunflower microgreens are ready to be harvested about ten days after they have been planted. When harvesting microgreens, a knife or pair of scissors should be used. Include them in your sandwich or salad, and savor their delicious flavor.